How to Update Custom Proxy for Your Account
**To update custom proxy for your account,
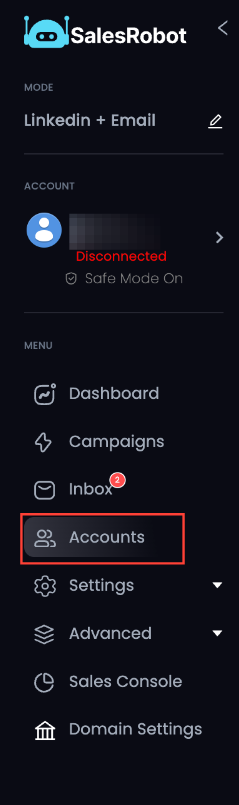
- In your SalesRobot dashboard, go to Accounts tab
- Click on the … dots button at the right end of the account whose custom proxy you want to update.
- In the pop-up menu, select Update Custom Proxy.

- In the next step, add the custom IP details in the fields provided.
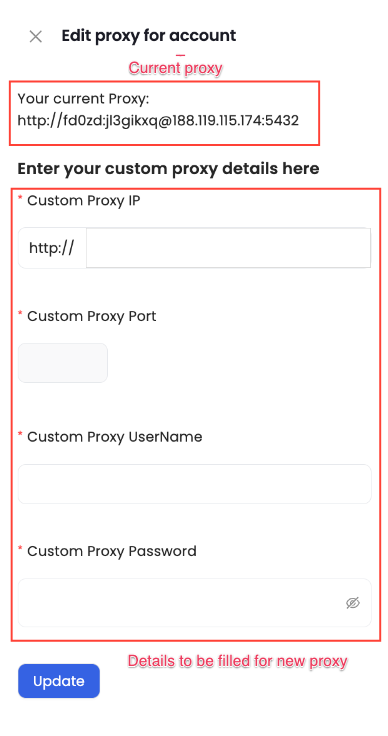
Here is an example you can follow:
If you want to update the proxy to http://yv5yr:rz180r9m@139.5.181.138:5432,
Custom Proxy IP: 139.5.181.138
Custom Proxy Port: 5432
Custom Proxy Username: yv5yr
Custom Proxy Password: rz180r9m
Once added, click on Update.
Your proxy is now updated for safe, efficient, and scalable LinkedIn outreach. 🚀**
Updated on: 31/01/2025
Thank you!